How To Setup A New Mac For Family Sharing In Sierra
Family Sharing allows multiple iOS and Mac OS X users to share their iTunes purchases and content with one another. Here's how you use it on iOS.
Suppose, while using Mac OS X Lion, you have a folder you want to share, but it has slightly different rules than those set up for the Public folder, for the Drop Box folder within the Public folder, or for your personal folders. These rules are permissions, and they tell you how much access someone has to your stuff in OS X Lion.
To share a folder with another user, follow these steps:
Choose Apple→System Preferences (or click the System Preferences icon in the Dock).
In the System Preferences window, click the Sharing icon.
Click File Sharing in the list of services on the left.
If an entry in, for example, the Shared Folders list is too long for you to make out the folder name, hover your pointer over it, and a tooltip will appear, giving you the full name.
Click the + (plus) button under the Shared Folders column to add the folder you wish to share.
If you select the Shared Folder check box in a folder’s Get Info window, that folder already appears in the list of Shared Folders, so you won’t have to bother with Step 4.
Alas, while checking the Shared Folder check box in a folder’s Get Info window causes it to appear in the Sharing System Preferences pane’s Shared Folders list, you still have to complete the steps that follow to assign that folder’s users and privileges.
Click the + (plus) button under the Users column to add a user or group if the user or group you desire isn’t already showing in the Users column.
Click the double-headed arrow to the right of a user or group name and change its privileges.
You can choose among three types of access for each user or group.
If you’re the folder’s owner (or have administrator access), you can click the padlock icon and change the owner and/or group for the file or folder. Usb ptp driver for mac.
| Permission | What It Allows |
|---|---|
| Read & Write | A user with Read & Write access can see, add, delete, move, and edit files just as though they were stored on her own computer. |
| Read Only | A Read Only user can see and use files that are stored in a Shared folder but can’t add, delete, move, or edit them. |
| Write Only (Drop Box) | Users can add files to this folder but can’t see what’s in it. The user must have read access to the folder containing a Write Only folder. |
| No Access | With no permissions, a user can neither see nor use your Shared folders or drives. |
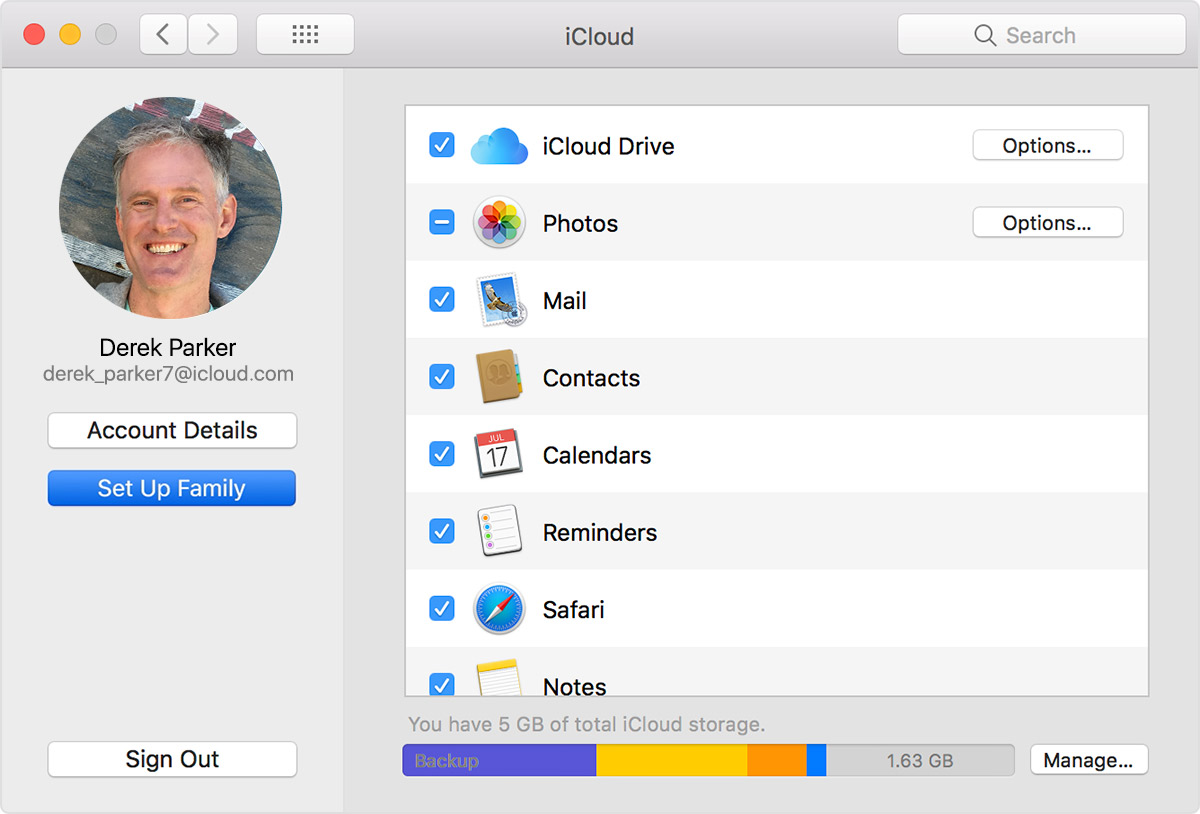
If a new family member or even a new office co-worker is going to use your Macintosh, you can create a new user account for them. Having separate user accounts means each person who uses the Mac can each have their own settings, like iCloud account information, application preferences, and desktop wallpaper. They can each have their own repository of files and folders. It's the safest way to make sure you're not overwriting or otherwise disturbing each other's files. Here's how to do it.
Breaking down what each account means
First, some notes about the different user accounts you can set up on the Mac:
The first account on any newly set up Mac is the administrator account. There has to be at least one. This account is the one you need to set up a new user from. Administrators can add and manage other users on the Mac, install apps, and change settings. Your Mac can have multiple administrator accounts.
Standard user accounts are set up by the Mac administrator account, and can install apps and change settings, but can't add other users or change other users' settings. If you're in charge of the Mac and its accounts but don't want anyone else to be, create standard accounts for them.
Managed with parental controls is the best setting for kids or anyone else who needs a guiding hand when using the Mac. These users can access only the apps and content specified by the administrator using parental controls. Among other things, you can restrict managed users' contacts, website access and place time limits on computer use.
Sharing only accounts can access shared files remotely, but can't log in to the computer or change settings. This is helpful if you have users you frequently share files with who don't need direct access to the computer. If you don't want to create sharing only accounts, you can also share files using AirDrop, or attach them in Mail using Mail Drop.
Group accounts give multiple users the same access privileges. That group will have the same access to shared files and folders. Let's say that multiple users need access to stationery files stored on your Mac for office correspondence: Make them part of the 'office' group, then make sure the 'office' group has permission to that folder in the File Sharing section of the Mac's Sharing preferences.
How to create a new user account on the Mac
- Click on the Apple icon in the upper left corner of your Mac's screen.
- Select System Preferences from the drop down menu.
- Click on Users & Groups.
- Click the lock in the lower left corner to make changes.
- Type your administrator password.
- Click Unlock.
- Click the Add user account button (it looks like a plus, underneath the list of user accounts). .
- Set the new user's account type.
- See the notes above to understand the difference between administrator, standard, managed with parental controls, sharing only and group. You can enable administrator access and even enable parental controls after an account has been created, so if you're not sure what to set, don't panic. .
- See the notes above to understand the difference between administrator, standard, managed with parental controls, sharing only and group. You can enable administrator access and even enable parental controls after an account has been created, so if you're not sure what to set, don't panic. .
- Enter a full name for the user.
Enter an account name.
This account can be linked to an iCloud account, which will enable the user to log in using their own Apple ID. This can make cloud sharing, syncing with iOS devices and other Macs easier.
You can set up a separate password, which you'll be required to input and verify. You can also enter a hint in case the user (or you) forget the password.
When you're finished, click the Create User button.
How to delete a user account
- Click on the Apple icon in the upper left corner of your Mac's screen.
- Select System Preferences from the drop down menu.
- Click on Users & Groups.
- Click the lock in the lower left corner to make changes.
- Type your administrator password.
- Click Unlock.
Click the Remove user account button (it looks like a minus, underneath the list of user accounts).
Any questions?
Do you have any questions about how to create a new user account on your Mac? Drop them in the comments and I'll help you out.
macOS Catalina
Main
We may earn a commission for purchases using our links. Learn more.
an interesting turn of eventsBrazil court rules in favor of Apple over iPhone slowing
A court in Brazil has dismissed a case against Apple over the iPhone slowdown controversy as unfounded after authorities determined that Apple had taken appropriate action.